TL;DR - Our big project for 2024 was building a Finnish-style sauna! It was a bigger and more expensive undertaking than expected, but we're thrilled with how it turned out. For anyone considering a Cedarbrook kit, as long as you're comfortable doing basic woodworking (measuring accurately, using a mitre saw, brad nailer) and already own / can borrow those tools, then they provide great quality for the price.
Last winter, while on travel, we stayed at an Air B&B with a stand-alone sauna. It was the first time in years that I’d been anywhere near one, and we were both excited to try it. Needless to say it was awesome, and I was hooked. Months went by and it didn’t really cross my mind, till one day in early January it popped up mid-conversation that we’d briefly talked about wanting to build one at home. That kicked off a multi-month arc of reading, planning, measuring, asking questions on Reddit, more reading, re-measuring, and finally budgeting. I’ll say off the bat; we definitely exceeded the budget I sketched out back when this whole process got started. For the sake of transparency, and since so many of these type of write-ups tend to gloss over how expensive a project like this can get, I’ll provide the costs for each phase of the project and a summary at the end. Still worth noting that I'm paying a Bay Area premium for the landscaping and electrical, in other parts of the country those could've been cheaper.

After reading and re-reading a copy of Lassi Liikkanen’s The Secrets of Finnish Sauna Design, as well as the Trumpkin’s Notes on Building a Sauna over on localmile.org (the two go-to English language resources on the topic), I eventually zeroed in on Cedarbrook at the best option in the western United States. Cedarbrook is a long-established business in the Seattle area, they were willing to customize the kit to my specifications (specifically height, bench width, and vent placement), and included heaters from recognized Finnish manufacturers. A lot of the alternatives I came across during my search turned out to be suspect. Just a little sleuthing turned up that a lot of fancy websites were selling the same handful of basic saunas one can buy through Ali Express, just with their logo laser etched onto it. We decided to go with a “kit” sauna in part because we hoped it would be less expensive than building a permanent structure, and if we ever do move, a kit could be taken down and shipped. Having put it together once, I’m not sure how realistic it would be to tear it down and ship it, but it’s at least in the realm of possibility.

The first big question to answer was “where do we put this thing?”, and the answer turned out to be a little expensive. We had an empty corner of our backyard, and an unused patch of front yard beyond the fence. After measuring the space, we decided to shift the fence forward about 16 feet, to convert roughly 200 square feet of front yard into backyard, and get this larger area leveled and set with pavers. Along the way I got to learn the term “hardscape”, which means “expensive” in colloquial English. The total bill for moving the fence, adding a new span of fence to bridge the gap, leveling and paving the space, using the nicer polymeric sand, and adding the curved profile we asked for came out to $8,500. On the upside, this portion was super fast; we’d begun scoping out the patio on January 24th, and by Feb 1st the project was complete.

It was during our annual outing to Seattle for Emerald City Conic Con that we took the opportunity to visit Cedarbrook’s showroom in person. They were super friendly, tons of information, and answered my numerous questions without any hesitation. While they told us they had a bit of a backlog, we went ahead and put in our order for sauna on February 29th, springing for an 8' x 8' x 8'8" model. With the 10.5kW Cilindro heater, a peaked metal roof kit, door with a tall window, and full floor duckboard the total came out to $18,280. We paid half the price up front with the second half due when they shipped it. About a month later they sent over engineering drawings for me to review, just a few minor edits and we got the ball got rolling. The delivery date did shift out a couple times, talking to them it sounded like the taller sauna kits needed to be shipped and handled separately, so tended to take longer. On July 15th it finally arrived! Unloading it was longer task than we anticipated, in part because the pallet it was on was wedged between other shipments on the delivery truck, meaning we only had access to one side of it.

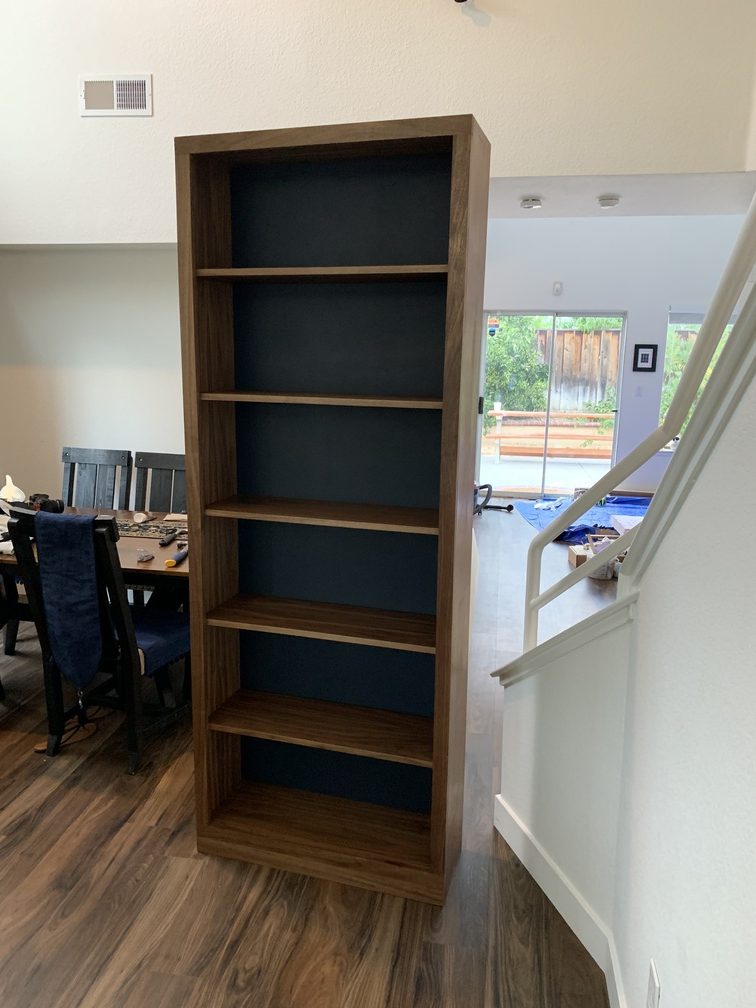
Eventually it was all unpacked and piled up in our garage, what felt like an infinity of panels, boards, and bits. The following weekend we dug out the directions packet and tools and got assembling. The base plate, walls, and even ceiling went together in one day. The benches took an additional afternoon. I will say we called Cedarbrook several times during the build and they were ready with answers and info every single time. The difficult step we hadn’t thought much about during ordering was the roof; we opted for the peaked metal roof, and working at 8.5 feet off the ground got a little spooky at times. When our contractor came out to run the electrical to the sauna, I asked if they’d help put the roof together and they were happy to bill a couple extra hours and have their team of guys get it done. There were a couple questions about wiring that came up, but after scrutinizing the diagrams in the manual we eventually got everything set. Finally by July 31st the electrical and roof were complete, and the sauna was ready for its first heating! I did find that one of the heater legs got bent, either in shipping or during the install, but Harvia was kind enough to ship me a replacement kit for no charge.

The three remaining steps, namely putting up the heater guardrail, installing the duckboard flooring, and applying a protective oil to the outside of the sauna, would end up taking longer due to travel. After a bit of reading we ended up going with two gallons of transparent Penofin red-label, which was enough for the sauna exterior, as well short duckboard walk we made for the outdoor shower. But now, about a month after initial delivery, it’s finally finished and working very well. It seems to reach temperature (185-195 F) in about 45-50 minutes, which matches with predictions.


Three lessons we learned along the way:
First: we should have spent more effort keeping the base plate perfectly square. We did square it up before adding the wall panels, but the act of mounting the panels exerted enough wobbly forces that the final structure didn't stay perfectly square. It still works, but a few bits don't meet as cleanly as they could have.
Second: We should have applied the Penofin oil to the exterior faces of the wall panels before assembly, it would've been far easier than painting them from ladders post-assembly.
Third: We probably should have asked Cedarbrook to provide a conduit for the exhaust fan. The Xenio control box has hookups for fan power, which would've allowed us to control (just on/off, no variable speed) from the same panel that controls the heater and lights, but without a conduit built into the wall panel it's going to take some additional work before we can get to the cleanest setup. For now the fan is just run off it's own outlet.
I’m planning another write-up discussing the design specifics (bench heights, vent placement, heater sizing, etc.) heating performance and some detailed measurements I’ve got planned (namely temperature vs height & time, humidity and CO2 concentration decay rates, impact of ventilation flow rate), but that will take a little longer to pull together. Suffice to say, I’m incredibly happy with our sauna, and have already used it about a dozen times.
| Step/Item | Cost |
| Moving Fence + Leveling + Paving | $8,250 |
| Cedarbrook Kit | $18,280 |
| Electrical upgrade | $2,600 |
| Outdoor Shower + Walkway | $235 |
| Lights, Screws, Nails, Penofin Oil | ~$250 |
| Total | ~$29,615 |
That is really expensive, particularly since when I started down this road I was looking at much smaller units for around $8k. Would I rather have a used car or a swanky month-long cruise? Honestly no, I've already gotten so much enjoyment out of the sauna, and with a little care it ought to last many years.